New Iwagumi Shrimp Tank Set up. Day 0
I have decided to recreate my old shrimp tank that you might have seen here:
 or here
These the picture are links to video, so you can click there.
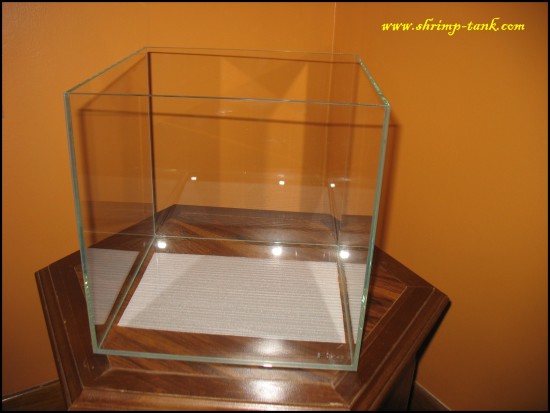
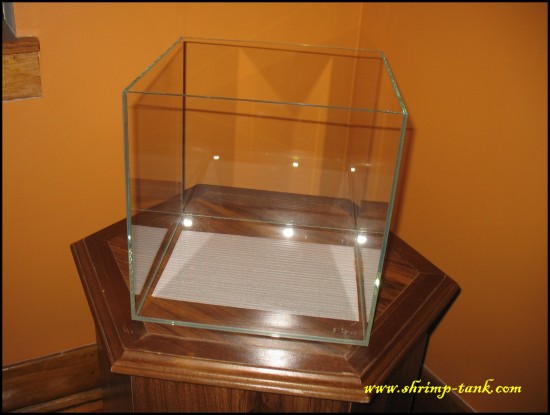
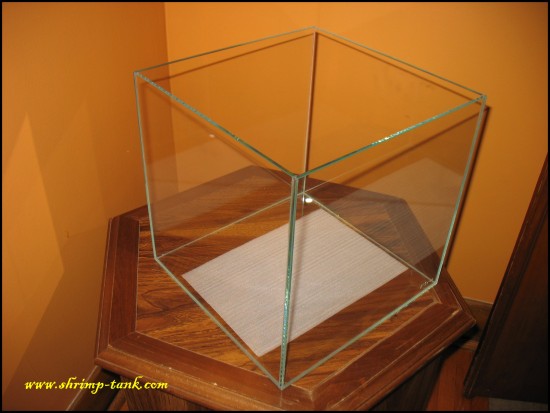
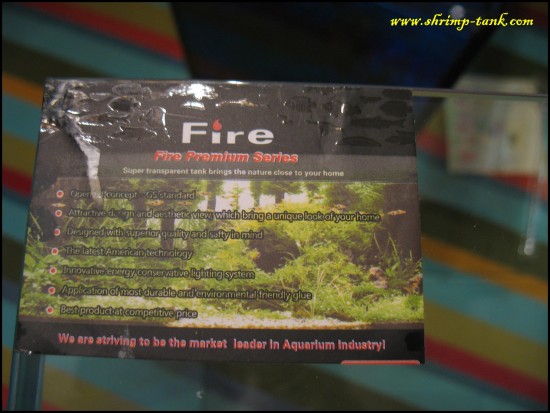
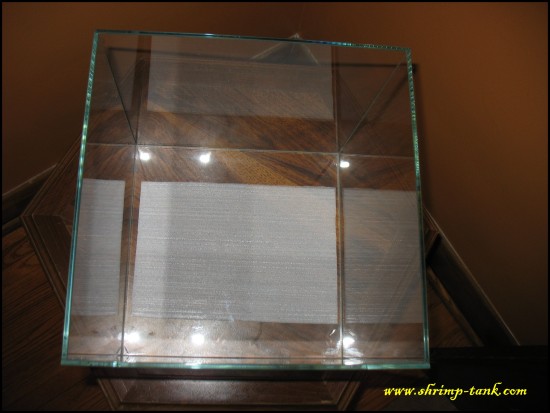
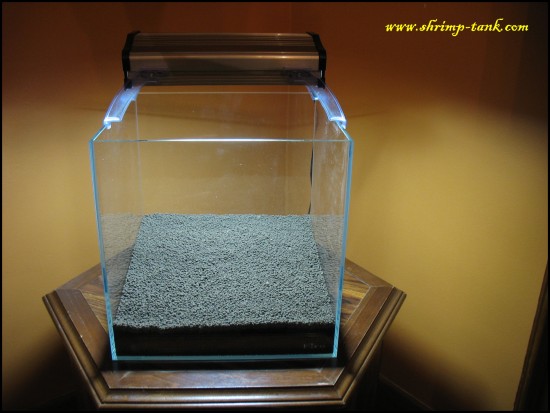
I have got a new cube aquarium. It has same size, it’s 30cm cube. The biggest difference is that my new aquarium is very well-made, silicon are clear and it’s just a enough of it to glue the glass. This new tank has StarFire glass.
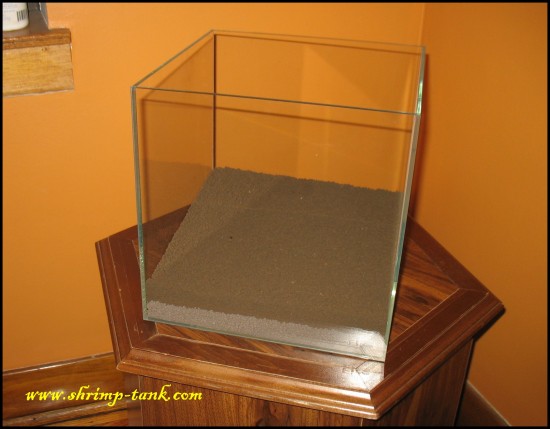
I use the same hexagonal brown night stand I have. I try to hide as much equipment as possible and the night stand really help me out there. The biggest thing it hides is “Fluval 104″ canister filter.
In my previous set up I used Seachem. Flourite Black Sand which has nutrition for plants. I believe it did it’s job last time. However, I decided to use ADA Amazonia soil now. I used it a lot for my crystal red and tiger shrimps.
I decided to leverage ADA Amazonia soil ability to lower pH in my tank. Almost any plant will get benefits from lower pH and I should have less problem will growing plants.
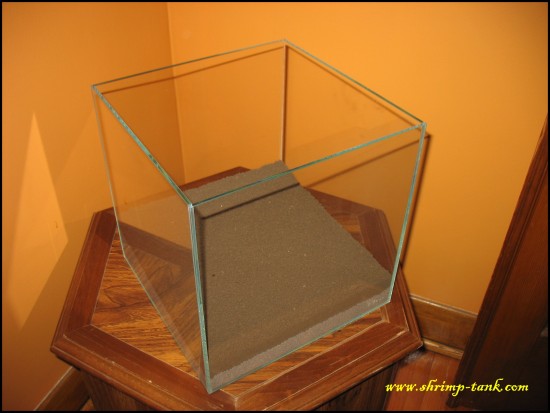
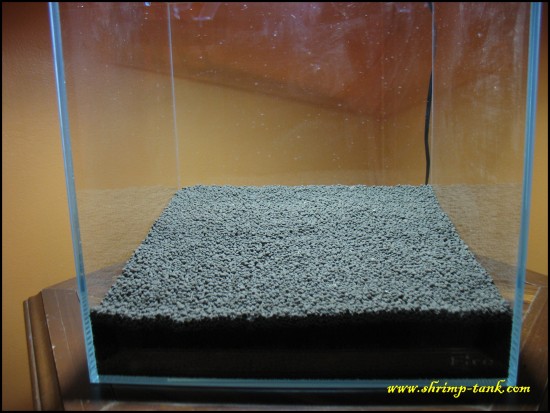
However, I haven’t had enough ADA soil to fill the tank nicely. So, I used Netlea shrimp soil as a first layer. These two soils are similar, however I have more success with
ADA in my shrimp tanks.
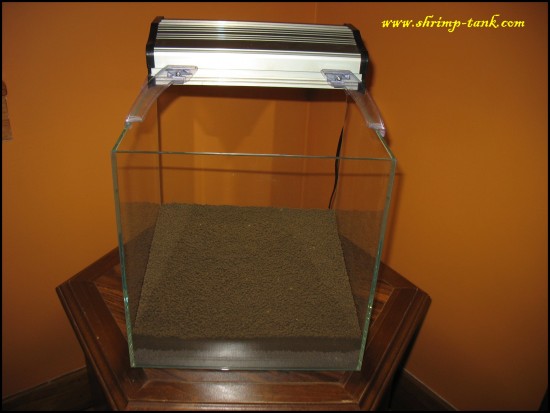
I have placed my light fixture on the tank. This is a perfect light I got from Catalina Aquariums long time ago. It has 2 x 13W compact florescent bulbs, which make quite a decent light for this 8 gallon tank.
On the picture below, you may notice that top and bottom layers of soil have different colors. You can see there that ADA is darker.
Now the light is up. The aquarium looks much better with the top light, doesn’t it? ![]()
One more picture that shows the soil closer.
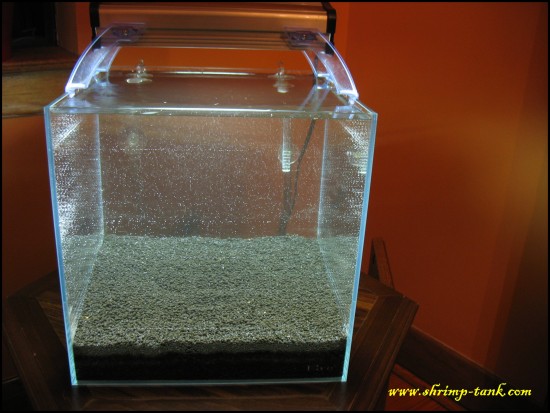
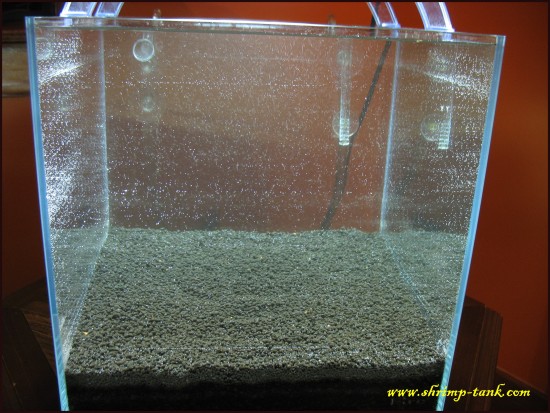
Next logic step is setupping an aquarium would be added the water. I used water prepared with Prime this time. I have also placed a filter intake and outtake tubes and now you can see how this tank looks like with the water.
I have to mention that you will try to repeat this, you water will be much darker that mine. The picture you can see below are, in fact, showing a tank with second water ‘refill’. I filled the tank first time to 1/2 and them removed all that dirty water and floating dust and filled it again.
So, do not be afraid if your new tank with the soil will not be clear right away. It’s not a problem, dust will settle down or will be collected by a filter.
And the close-up view on the tank.
Ok, that’s enough work for Day 0.
I will continue tomorrow about Day 1, where hardscape and plants will appear on the scene.
You can follow any responses to this entry through the RSS 2.0 feed. You can leave a response, or trackback from your own site.
